


Hey there, fellow truck enthusiasts! As a supplier of Truck Tub Racks, I've gotten tons of questions about what tools you need to install one. So, I'm here to break it down for you.
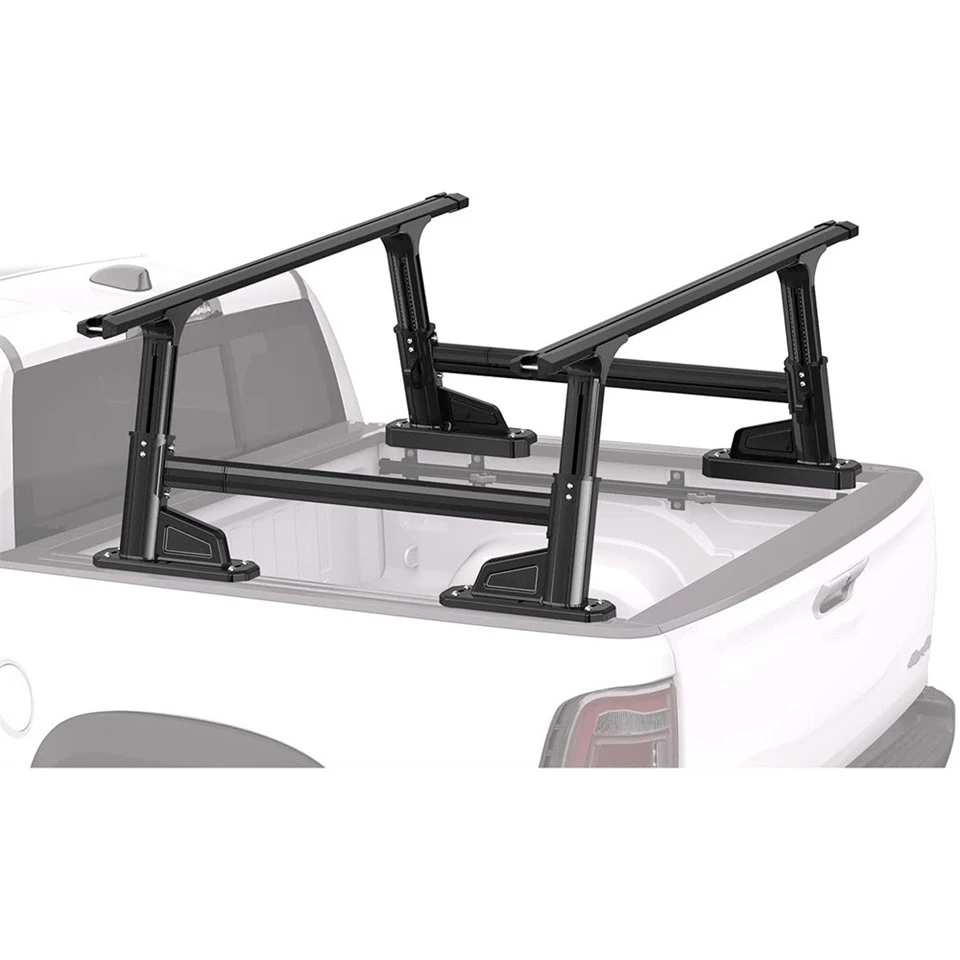
First off, let's talk about why you might want a Truck Tub Rack. Whether you're a weekend warrior going off - roading or a professional tradesperson, a Truck Tub Rack can be a game - changer. It gives you extra storage space in your truck bed, allowing you to carry bulky items like kayaks, ladders, or construction materials without cluttering up the interior of your truck.
The Basic Toolkit
When it comes to installing a Truck Tub Rack, you're going to need a few essential tools. These are the ones that are going to make the whole process a lot smoother.
1. Socket Set
A good socket set is an absolute must. You'll use it to tighten and loosen bolts during the installation. Make sure you have a variety of socket sizes because different Truck Tub Racks might use different bolt sizes. A standard socket set usually comes with sizes ranging from 8mm to 19mm, which should cover most of your needs. You can find a decent socket set at your local hardware store or online.
2. Wrench
In addition to a socket set, a wrench is also very useful. There might be some areas where a socket set won't fit, and that's where a wrench comes in handy. A combination wrench, which has an open - end and a box - end, is a great choice. You can use the open - end to quickly get the bolt started and then switch to the box - end for a more secure grip when tightening.
3. Screwdriver
Screwdrivers are another essential tool. You'll likely need both a flat - head and a Phillips - head screwdriver. Some parts of the Truck Tub Rack might be held together with screws, and having the right screwdriver will prevent you from stripping the screws.
4. Drill
If your Truck Tub Rack needs to be drilled into the truck bed, then a drill is essential. A cordless drill is usually the best option because it gives you more mobility. Make sure you have the right drill bits for the job. For most truck beds, a titanium - coated drill bit works well. It's durable and can handle drilling through metal.
5. Measuring Tape
Accuracy is key when installing a Truck Tub Rack. A measuring tape will help you ensure that the rack is centered and level in your truck bed. Measure the width and length of your truck bed before you start the installation to make sure the rack will fit properly. Also, measure the distance between the mounting points on the rack to match them with the corresponding points on your truck bed.
Additional Tools for Specific Racks
Depending on the type of Truck Tub Rack you have, you might need some additional tools.
If You Have a Truck Bed Rack System with Tonneau Cover
If your Truck Tub Rack comes with a tonneau cover, you'll need some extra tools. A rubber mallet can be useful for gently tapping the cover into place. You might also need a trim removal tool to take off any existing trim in your truck bed before installing the rack and cover. This tool helps you remove the trim without damaging it.
If You Have a Bed Rack with Tool Box
For a bed rack with a tool box, you'll need tools to secure the tool box to the rack. This might include longer bolts and nuts. You'll also need a torque wrench to ensure that the bolts are tightened to the correct torque specification. Over - tightening or under - tightening the bolts can lead to problems down the road, so a torque wrench is crucial for a safe and secure installation.
Step - by - Step Installation Tips
Now that you know what tools you need, here are some step - by - step tips for installing your Truck Tub Rack.
Step 1: Prepare Your Truck
Before you start the installation, clean your truck bed thoroughly. Remove any dirt, debris, or rust from the area where the rack will be installed. This will ensure a good fit and prevent any corrosion in the future.
Step 2: Lay Out the Parts
Take all the parts of your Truck Tub Rack out of the box and lay them out. Check to make sure you have all the parts and that nothing is damaged. Refer to the installation manual to identify each part.
Step 3: Start the Installation
Begin by attaching the mounting brackets to the truck bed. Use your socket set and wrench to tighten the bolts. Make sure the brackets are level and centered. Then, attach the main frame of the rack to the mounting brackets. Again, use the appropriate tools to tighten the bolts securely.
Step 4: Add Additional Features
If your rack has additional features like a tonneau cover or a tool box, install them next. Follow the instructions carefully and use the additional tools we mentioned earlier.
Step 5: Double - Check Everything
Once the installation is complete, double - check all the bolts and screws to make sure they are tightened properly. Use your measuring tape to ensure that the rack is still level and centered.
Contact Us for Your Truck Tub Rack Needs
If you're in the market for a high - quality Truck Tub Rack, we've got you covered. We offer a wide range of Truck Tub Racks to suit different needs and truck models. Whether you need a simple rack for occasional use or a heavy - duty rack for professional applications, we have the perfect solution for you.
If you have any questions about our products or the installation process, don't hesitate to reach out. We're here to help you make the right choice and ensure a smooth installation. Contact us today to start the purchasing process and take your truck's storage capabilities to the next level.

References
- General knowledge from years of experience as a Truck Tub Rack supplier.
- Installation manuals of various Truck Tub Racks.


